Premium Devices must be hard coded onto the network for them to work properly. To add your Premium Device onto the network, please follow these steps:
1. Please go to: www.mywifihelp.com/submit-service-ticket/ 2. Fill out the “Your Information” section. 3. Then select “My Premium Device” under “How can we help you? >> I need help with:” 4. Select “Add Premium Device” under “Would you like to Add or Remove Premium Device?” 5. You will need to select your device from the list. If it’s not listed, select Other (Please Specify). 6. You will need to enter the WiFi/Wireless MAC address of your device. 7. Submit the form. You will be notified when your device has been added onto the network.
Whether you work in a wired network office or a wireless one, one thing is common for both environments: It takes both network software and hardware (cables, routers, etc.) to transfer data from your computer to another—or from a computer thousands of miles away to yours.
And in the end, to get the data you want right to YOU, it comes down to addresses.
So not surprisingly, along with an IP address (which is networks software), there’s also a hardware address. Typically it is tied to a key connection device in your computer called the Network Interface Card, or NIC. The NIC is essentially a computer circuit card that makes it possible for your computer to connect to a network.
A Network Interface Card turns data into an electrical signal that can be transmitted over the network.
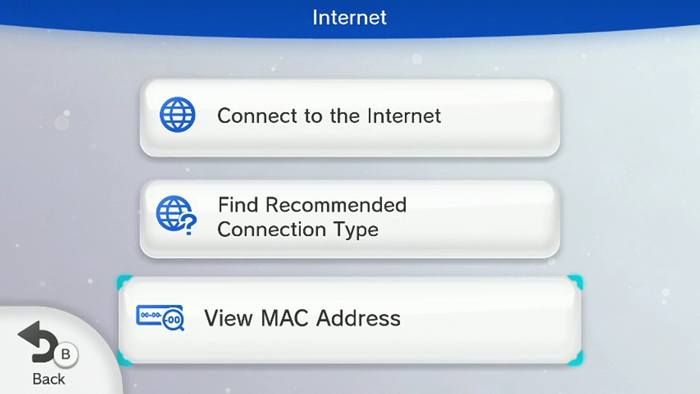
NIC (Network Interface Connection – Your WiFi adapter) and MAC Addresses
Every NIC has a hardware address that’s known as a MAC, for Media Access Control. Where IP addresses are associated with TCP/IP (networking software), MAC addresses are linked to the hardware of network adapters.
A MAC address is given to a network adapter when it is manufactured. It is hardwired or hard-coded onto your computer’s network interface card (NIC) and is unique to it. Something called the ARP (Address Resolution Protocol) translates an IP address into a MAC address. The ARP is like a passport that takes data from an IP address through an actual piece of computer hardware.
Once again, that’s hardware and software working together, IP addresses and MAC addresses working together.
For this reason, the MAC address is sometimes referred to as a networking hardware address, the burned-in address (BIA), or the physical address. Here’s an example of a MAC address for an Ethernet NIC: 00:0a:95:9d:68:16.
As you’ve probably noticed, the MAC address itself doesn’t look anything like an IP address (see yours here). The MAC address is a string of usually six sets of two-digits or characters, separated by colons.
Some well-known manufacturers of network adapters or NICs are Dell, Belkin, Nortel and Cisco. These manufacturers all place a special number sequence (called the Organizationally Unique Identifier or OUI) in the MAC address that identifies them as the manufacturer. The OUI is typically right at the front of the address.
For example, consider a network adapter with the MAC address “00-14-22-01-23-45.” The OUI for the manufacture of this router is the first three octets—”00-14-22.” Here are the OUI for other some well-known manufacturers.
The 360 has been updated with the “New Xbox Experience” (NXE) dashboard. This is easily identifiable by the presence of avatars,the “Video Marketplace” with Netflix, and all-together different interface then previously.
The 360 has not been updated to the NXE and still runs the old 360 dashboard.
Solution
On the old dashboard (pre-NXE)
Go right to reach the System “blade” of the Dashboard.
Select Network Settings.
Select Edit Settings.
Under Basic Settings check to make sure IP Settings is on Automatic.
Go right to get to the Additional Settings Tab.
Go down to select Advanced Settings.
Toward the bottom of the screen you should see Wireless MAC Address. The MAC Address should appear below this.
On the new dashboard NXE
Scroll Down (if necessary) to “My Xbox”.
Go all the way to the right and select System Settings.
On the new screen, select Network Settings.
Select Configure Network.
Under Basic Settings, check to make sure IP Settings is on Automatic.
Go right to select the Additional Settings Tab.
Go down and select the second item Advanced Settings.
Toward the bottom of the screen you should see Wireless MAC Address. The MAC Address is the number below this.
Turn on your Xbox game console with no game disk in the drive tray.
From the Xbox Dashboard, choose Xbox Live.
Your Xbox should display a message saying something like “A network connection could not be created”.
Press A to continue. The Connect Status screen will be displayed.
Choose the Settings option, and then go to the Network Settings screen.
Your Xbox MAC Address is displayed at the bottom right of the screen, and looks like this example: MAC=00:11:22:33:44:55. This is the address you will need to register.